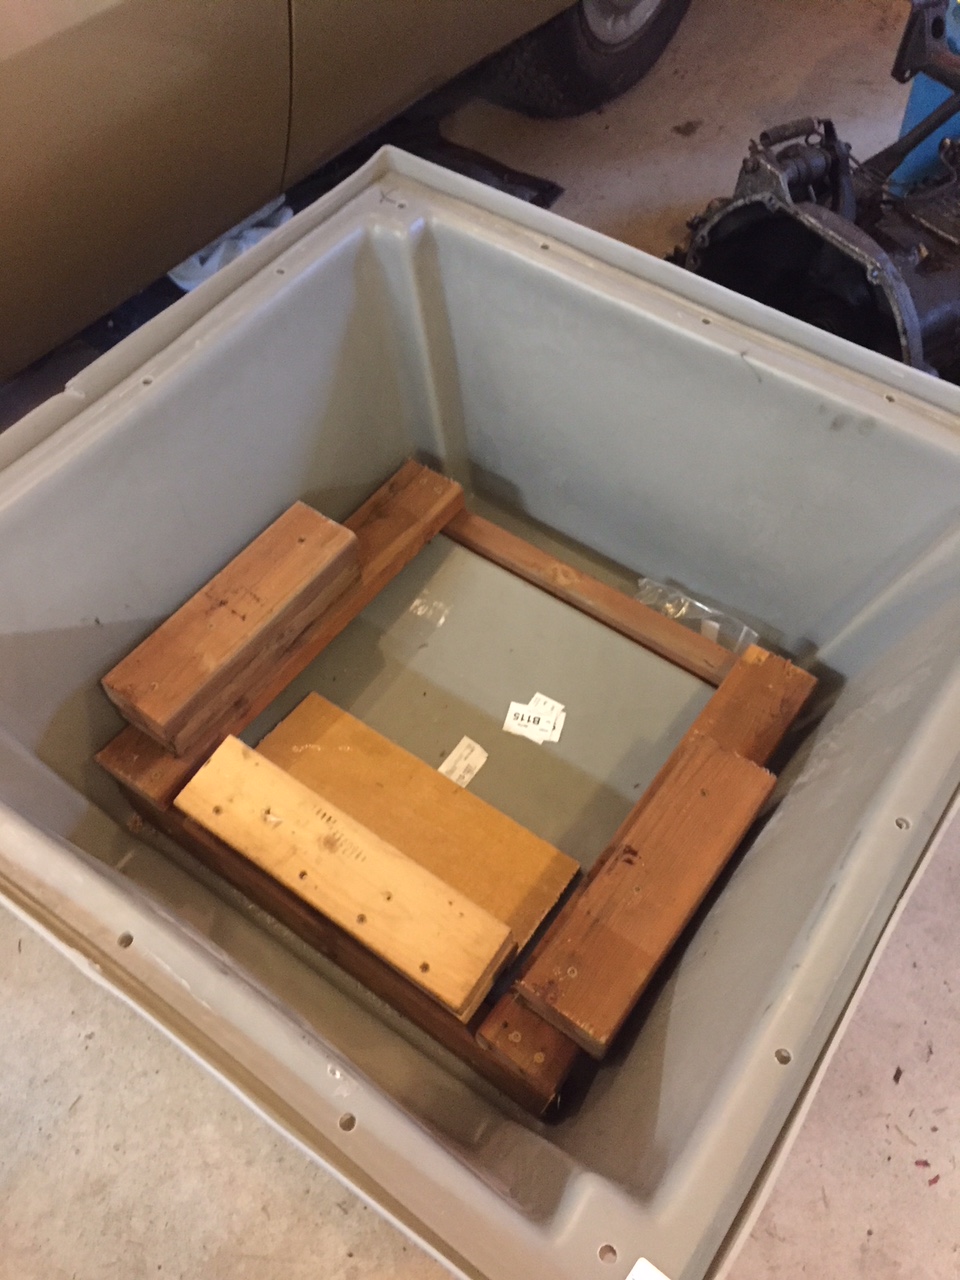
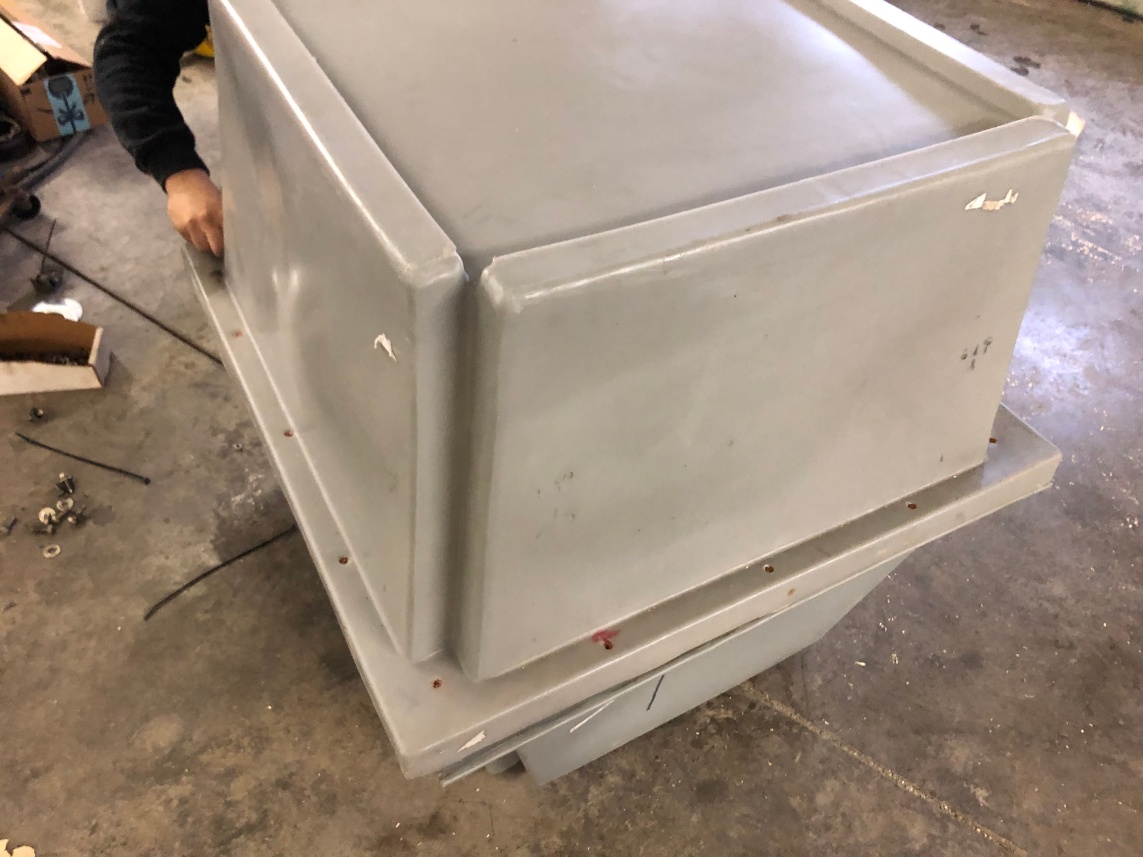
David struggled a bit to get the rebuilt engine crated in the engine crate I used, but after a few attempts he got it! He had to rebuild the wooden framing I created to cradle the engine as the wood I used to ship it to him (shown immediately below) had cracked :-(.
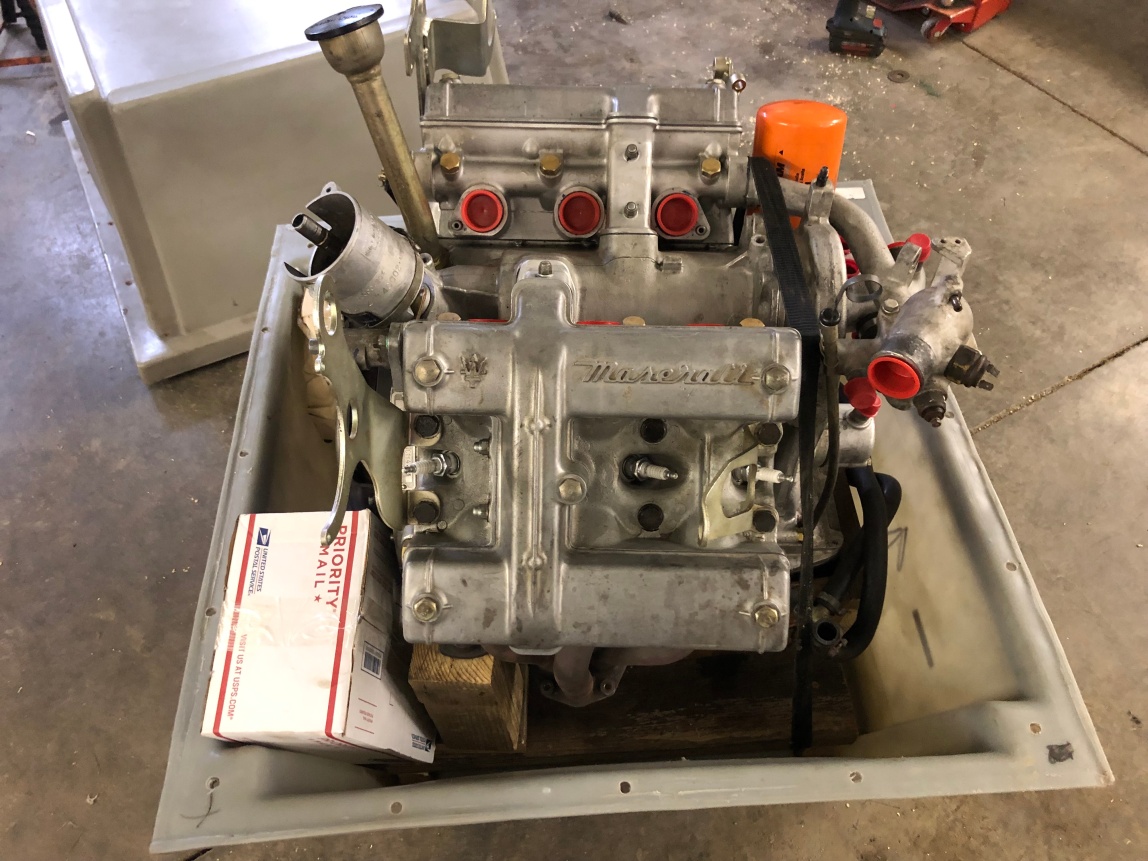
Here is the engine in the crate getting ready to come back to me:
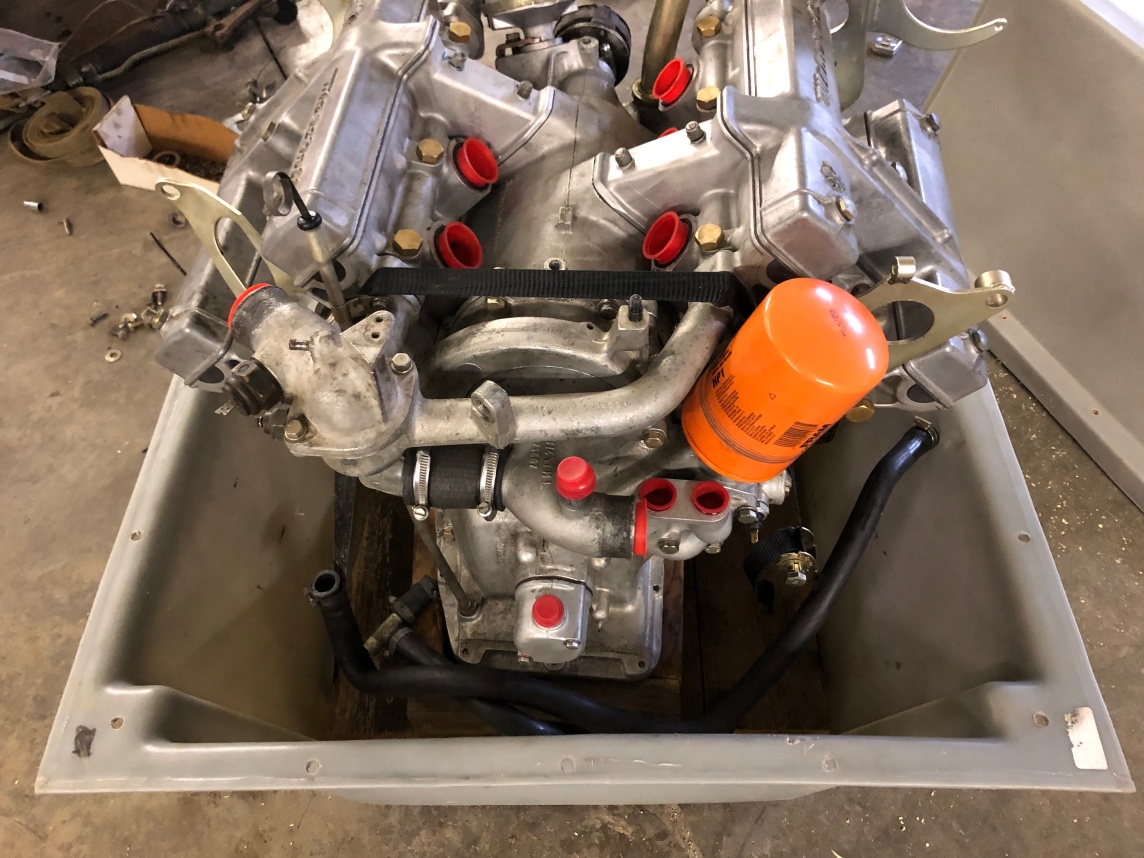
David shipped the crate last week and I have an ETA of December 31 for its arrival in Seattle at the freight station!!!!!
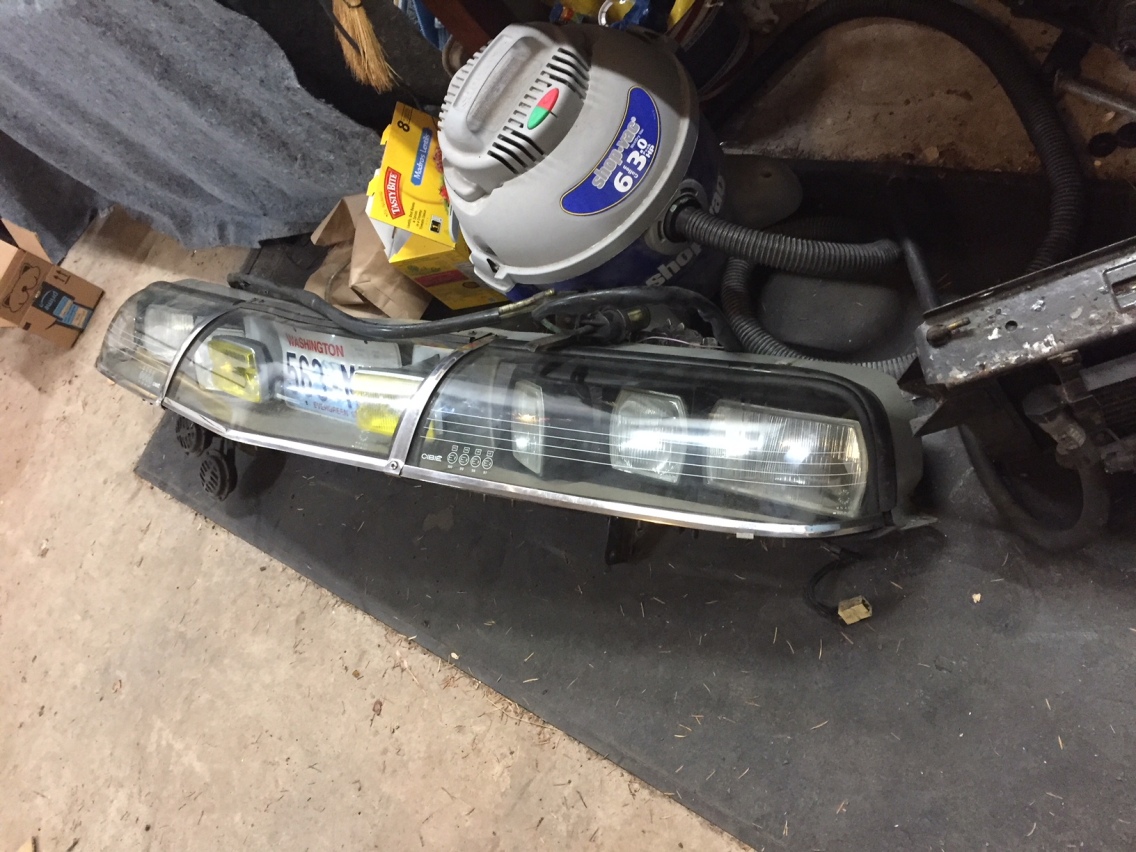
Meanwhile, I got some time into cleaning up the headlight system. I started with this:
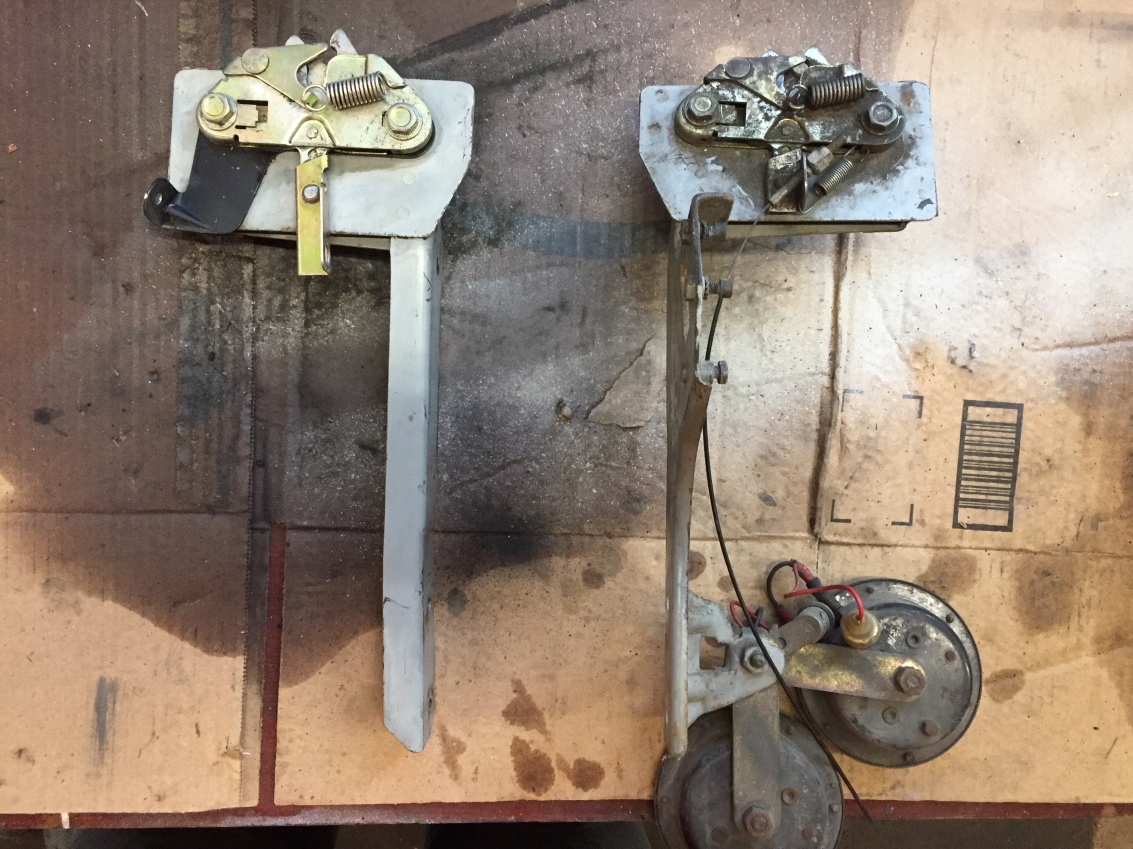
As part of disassembly, I got access to the hood latches and related frames. They cleaned up nicely. This picture shows the driver’s side cleaned and the passenger side with horns not yet cleaned:
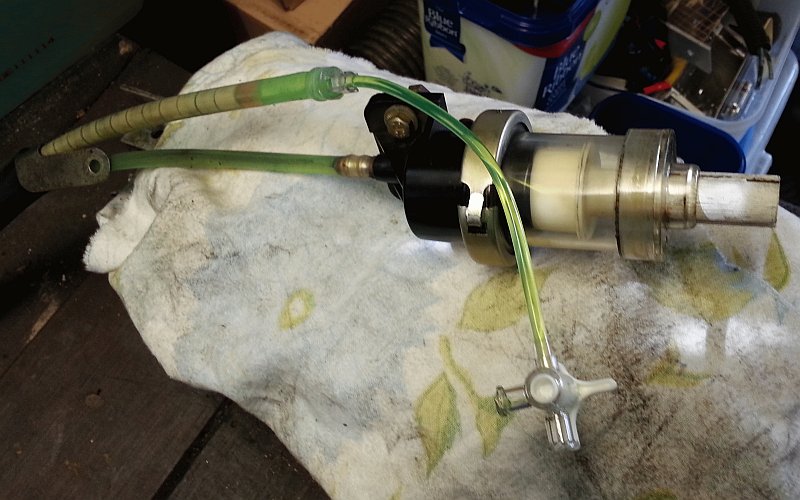
After removing the headlight buckets and cleaning them up, I started investigating why the driver’s side turning light wasn’t turning. It was due to a blown seal in the slave cylinder (the unit on the bottom of the headlight bucket) – you can see the tear in the seal below the clear plastic plunger housing here:

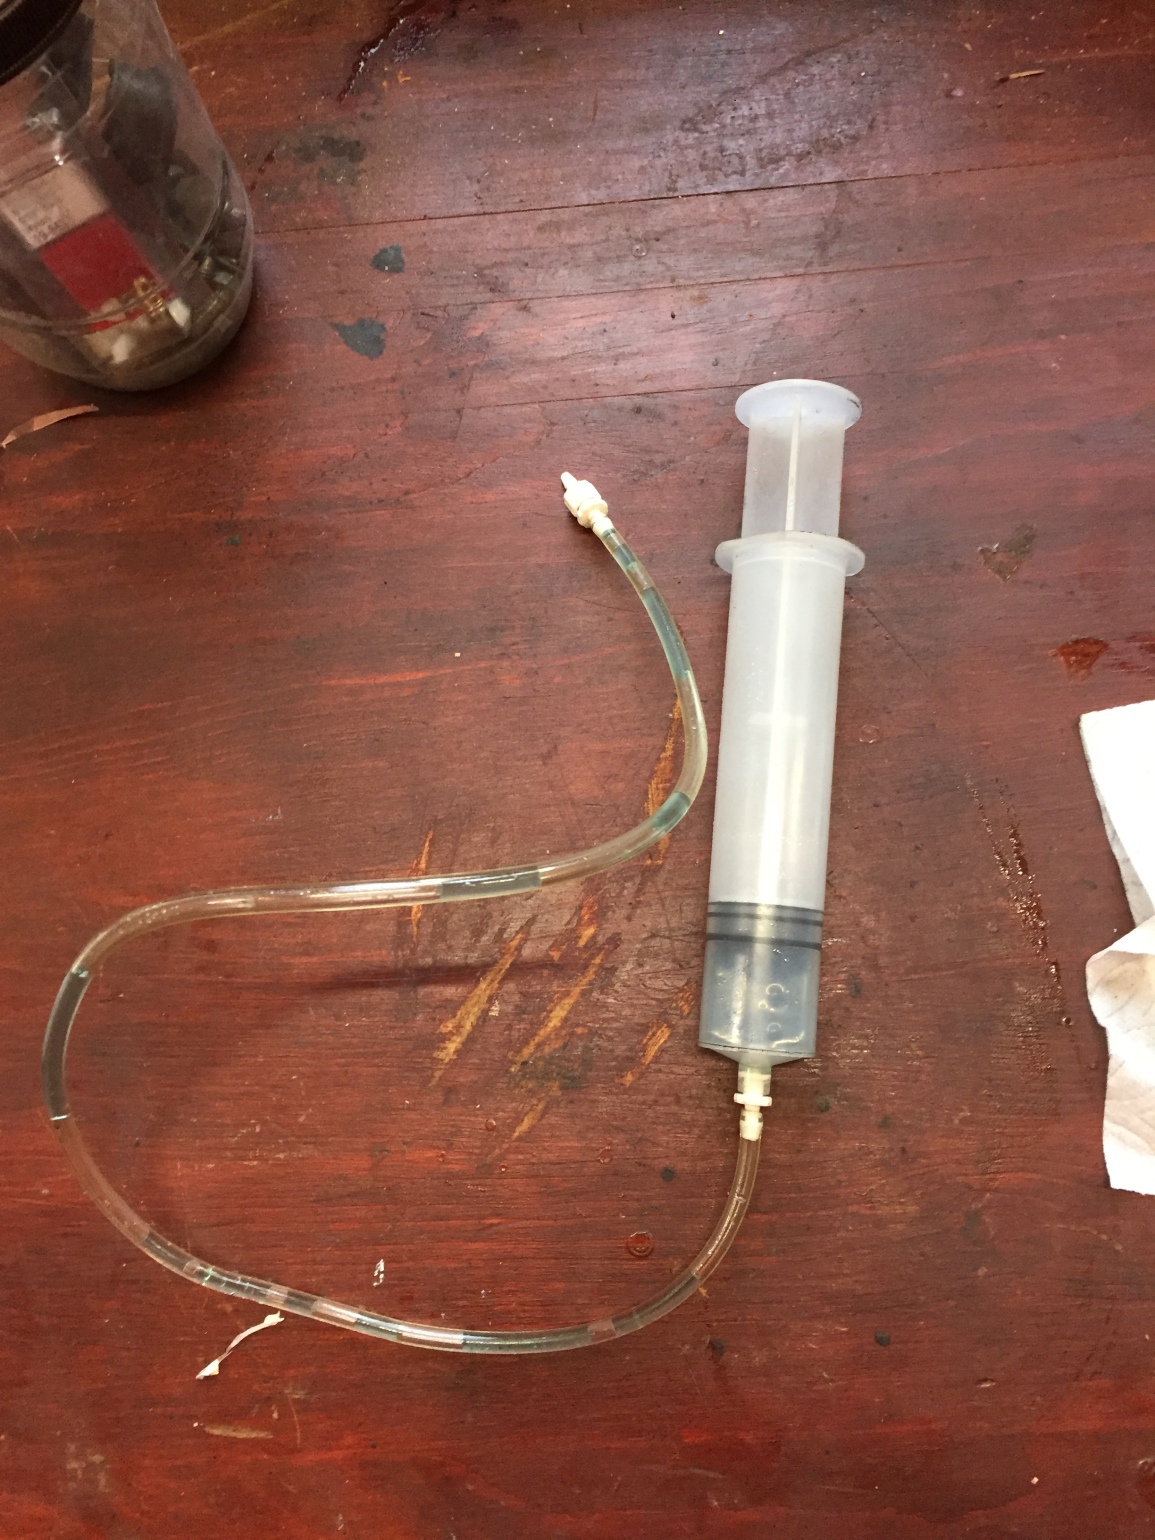
I replaced the seal with one I had in my spares and did some research on how to refill the system (the lines are hard and there are simple brass plugs at each end of the them – not easy to fill and bleed air out of them). I came across this idea on the “Aussie Frogs” forum (Australian Citroen Owners) – using a Luer Lock fitting and a syringe (just like for a drip feed with medical patient):
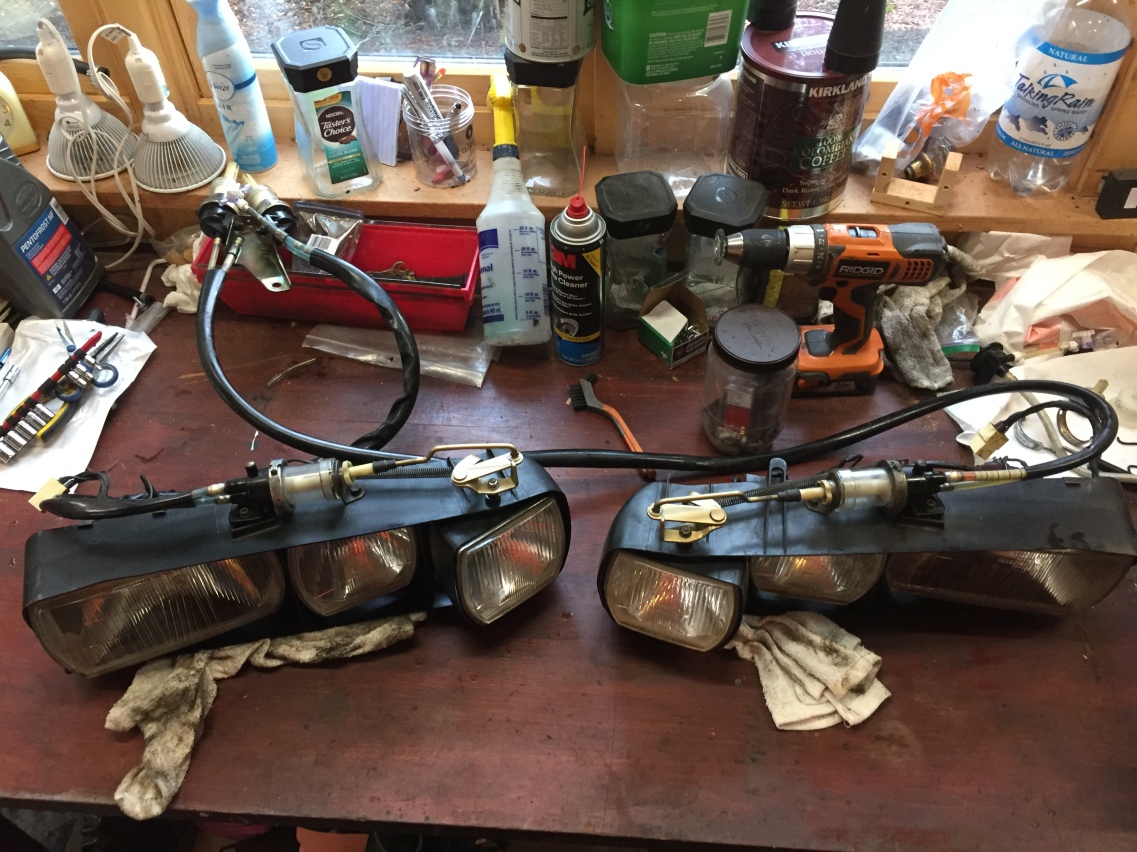
So – here are the actuating cylinders that sit just in front of the steering rack on the driver’s side after I cleaned them up and introduced a Luer Lock setup – using the 3-way petcock, I was able to force fluid into the line, then draw air bubbles back up and discharge them out the 3rd side of the 3-way petcock.
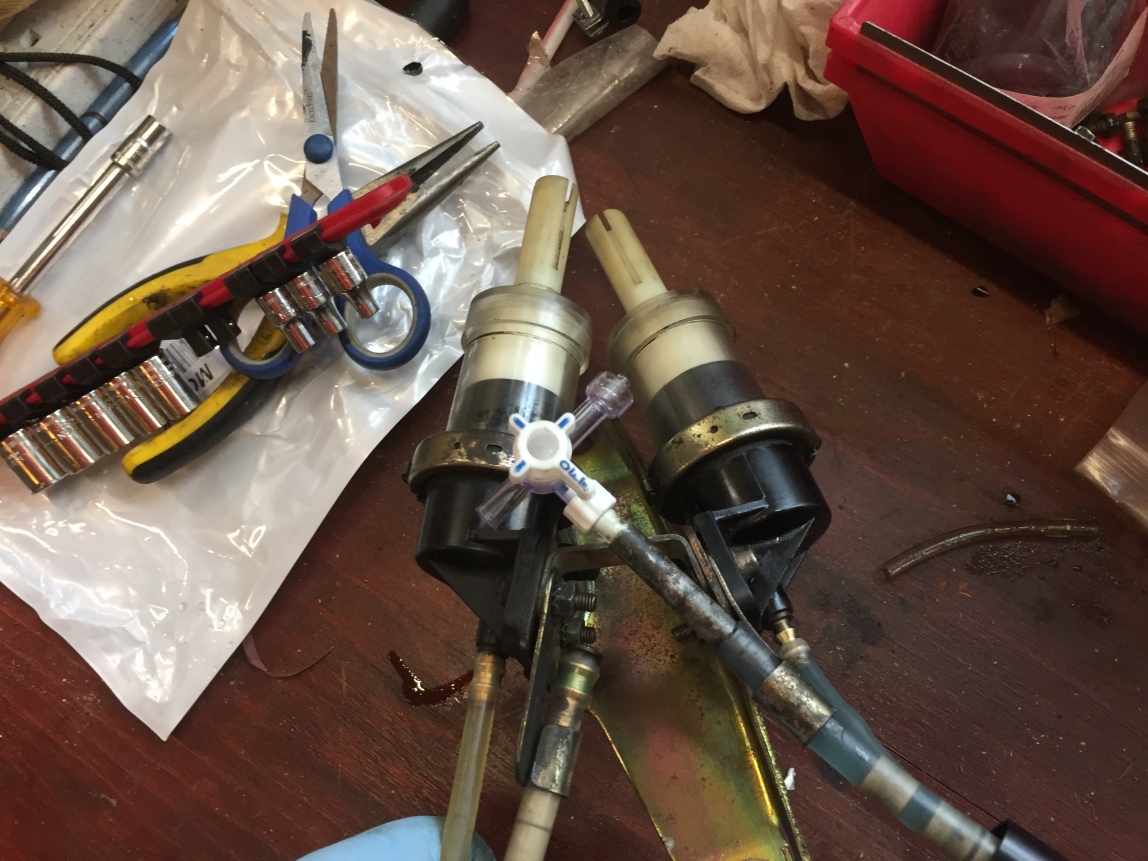
Got the lines nice and full and no “spongey-ness” (i.e. virtually no air in the system). Here is my “headlight fluid applicator” – screws right into the 3-way luer petcock:
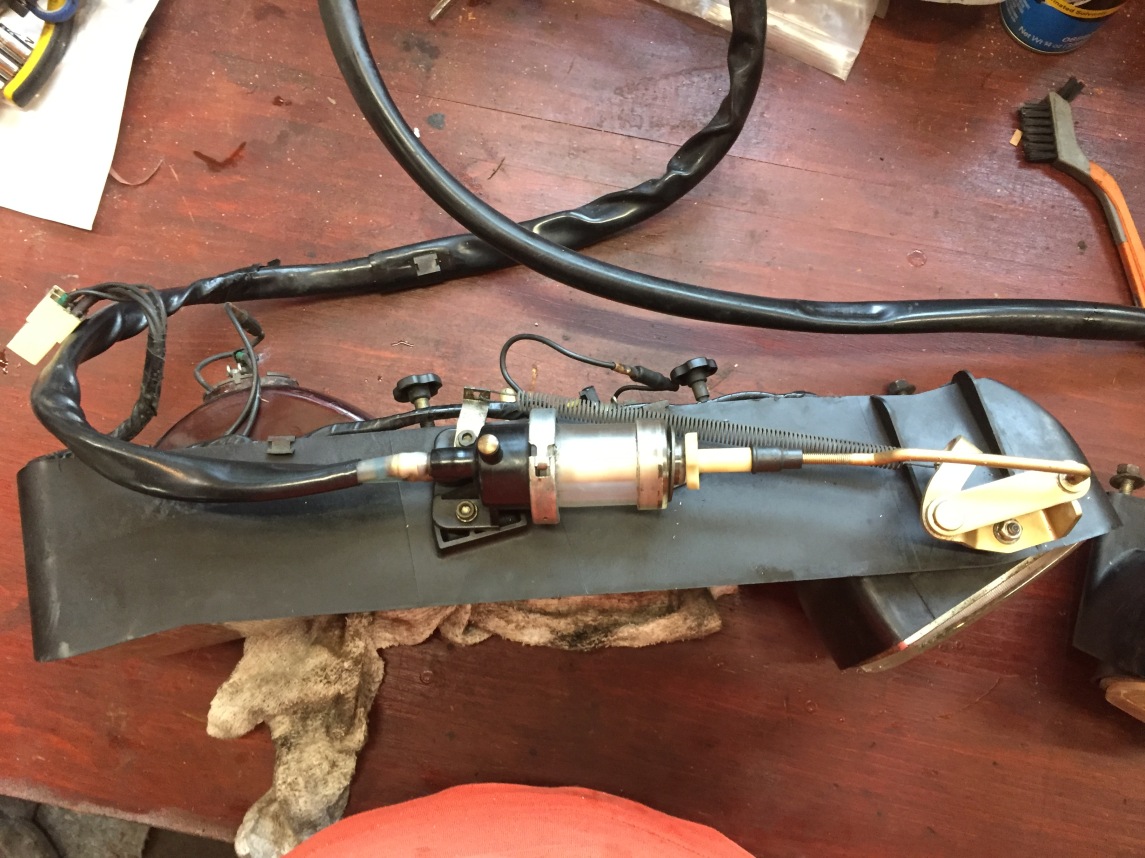
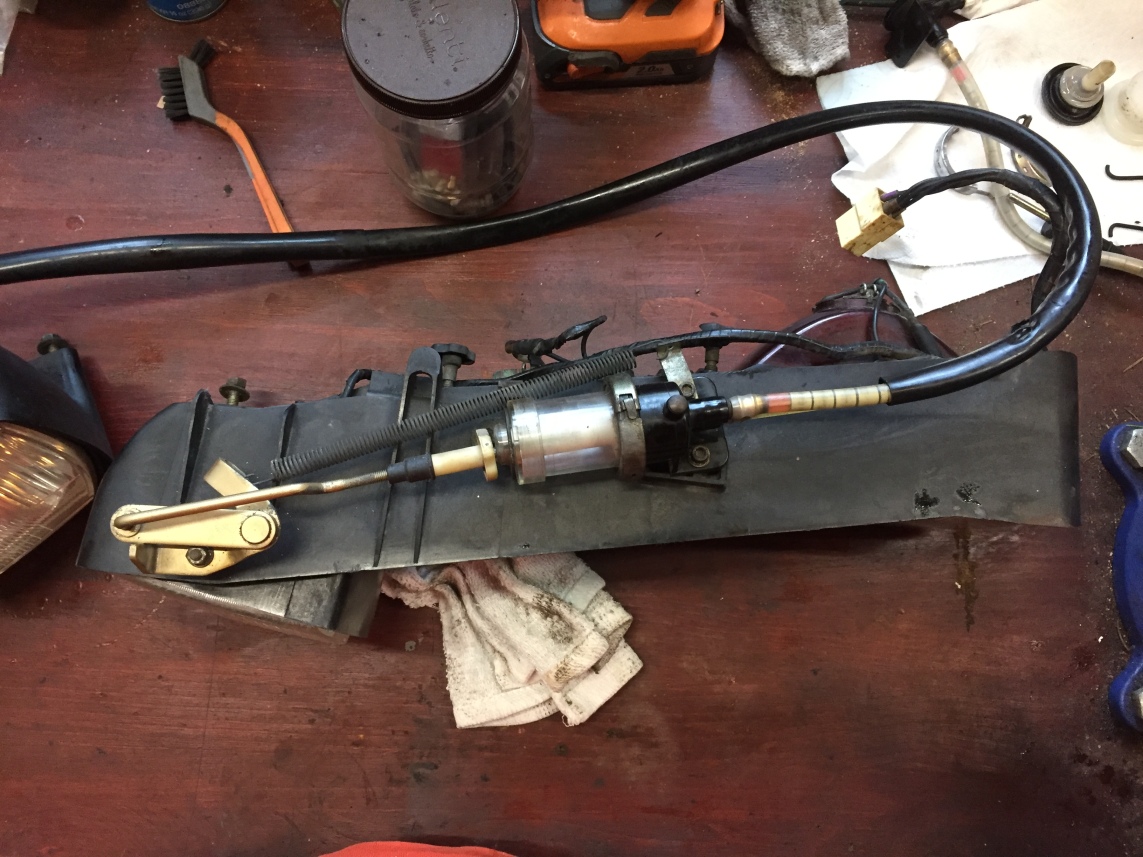
Here is the driver’s side headlight after cleanup and the repaired slave cylinder – this is the underside showing the hydraulics for the turning headlight:
Passenger side:
And the pair of them – looking pretty nice!!
And here is a video of the lights in action (bear in mind I’m using one hand to hold the iphone to record and the other to actuate the lights – quite a feat!!)!
Next up is to clean up the headlight housings and reassemble the unit for installation on the car.

Looks like it is going to be as good as new or better.
Taking your time to do it right.
Good work!
LikeLike